
 |
| My new studio pin board |
My sewing studio is my sanctuary. Unfortunately proceeding the holidays it had also become one BIG hot mess. It was like a sewing room would look after spending spring break in Cancun. Hungover.
So, I decided to spiff up the ole' place and give it a little touch up. Think botox meets sewing studio. The first thing that had to be done was the place had to be cleaned up, things put away, and I was in desperate need of a new style/pin board. Something to pin my ideas to and display pictures of my loved ones.
 |
| My poor sewing studio post Christmas. Disaster. |
 |
| A little nip-tuck and new pin board later and we're back in bidness! |
Here is what I came up with and how. This DIY fabric pin board was so easy to make and it only cost maybe $8. This would be a great project for younger kiddos to work on, or is a great first time project for new diy'ers to try. And, what a fabulous gift this would make for anyone! The custom options are endless.
Supplies:
Cork board or magnet board. The one I used is both. Found it on sale at JoAnn's for $7
Fabric you want to cover board with
Stud details- you can use furniture grommets or push pins (push pins are what I used. They were what I had on hand, and you can use the remaining ones to pin things to your board.)
Hot glue gun or staple gun
Picture hanging wire (optional)


Construction:
1. Cut a piece of fabric big enough to cover your board and fold behind to glue or staple in place
2. Place fabric right side down and place board right side down on top of fabric

3. Glue or staple one side of your board.
4. Begin gluing the other side of your board while gently pulling the fabric to make sure that it is tight and not loose once the board is finished.

5. In order to not fully cover board hangers just tuck the fabric under and around the hangers.
6. Finish gluing or stapling the rest of your board being sure to pull lightly on the fabric as you attach it in place.

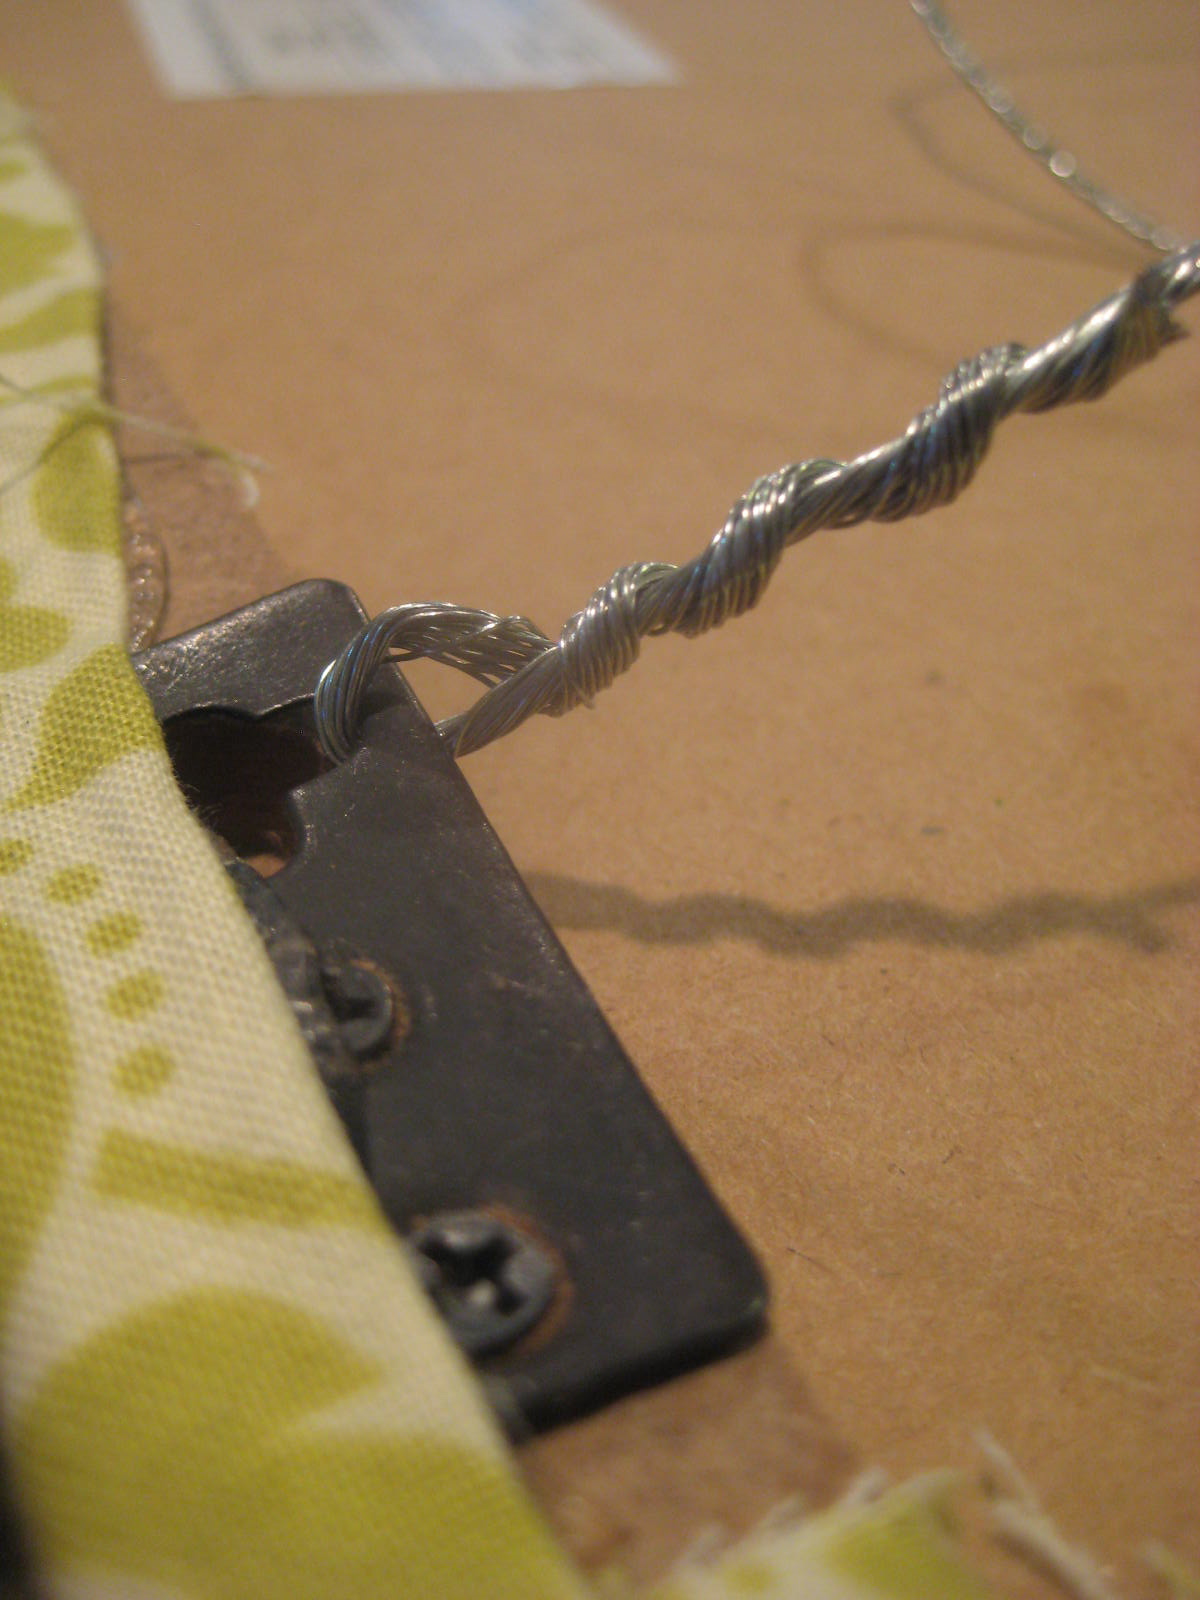
7. If you prefer to hang your board by wire instead of having to measure for two holes on your wall, attach your hanging wire to the back of your board between the two hangers. I gently lifted the attached hangers with a craft knife to allow room for the wire to go through.
8. Now that your board is completely covered you are ready to put your decorative studs on it!

9. Place your ruler next to the edge of one side of your board. Measure how far apart you want your studded details and begin placing them. I did mine 2" apart.


10. Start pinning things to your board and enjoy the awesomeness that you've created!
 |
| A little piece of DIY awesomeness at my work station. |
No comments:
Post a Comment